


Equipment Check List: Retractors | Shade guide | ShadeWave Shade Reference (optional) | Camera
Reduce reflections in the middle of the shade tab or teeth.
Close blinds on large windows or turn your dental chair away from direct window light.
Tilt your shade tab slightly toward the patient, incisal edge up.
Raise your dental chair to its maximum height. You want to be at or near the same height as your patient.
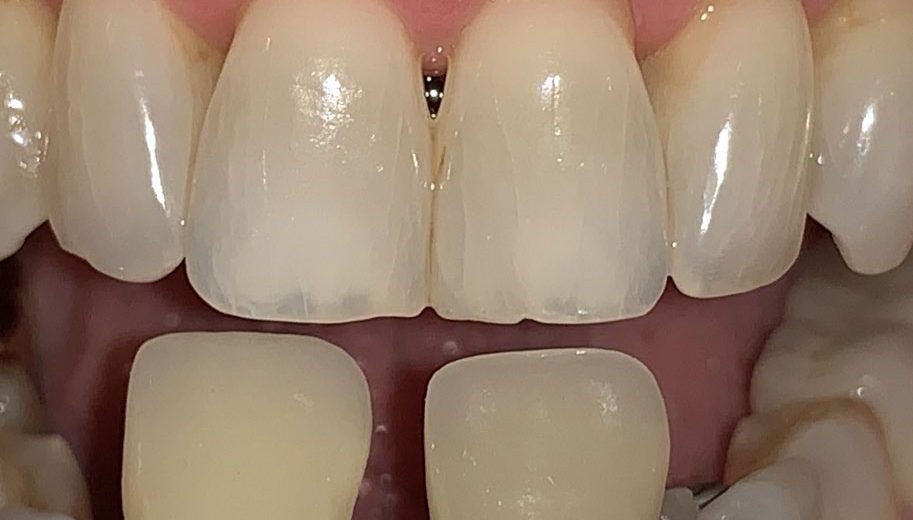
Know what tooth to match. Don’t take photos of missing teeth or temporaries.
Always use these two shade tabs, an A2 on your Left and a D3 on your Right. NOTE: With Shadewave, the shade tab does not have to match the tooth. All shade tabs work.
Cheek retractors: Wingless metal (#1) are better. The wings of the plastic ones (#2) may get in the way.
Show about 8 teeth. No closer than 6 teeth.
iPhone: Distance is about 4 1/2 inches from subject
Pitch Angles: Take two or three pictures at different Pitch angles. Especially for a single incisor.
Provide to the Lab for Every Case
Full-Face Photo: Give your ceramist a connection to the patient.
Shade Tab Name: Always take and include a photo of the shade tab(s) with the name. The photos are useless to the lab if they don’t know the name of the shade tabs.
Shade Photos Before Prep: Take two or three photos of tooth to be matched. Minimize glare.
After Prep Stump Shade: Take photograph with shade tab. Remember to raise the dental chair. You may use stump shade tabs if you have them.
Before the Patient Leaves: Check your pictures and retake if necessary.
Learn more about ShadeWave on our shade taking web page.