


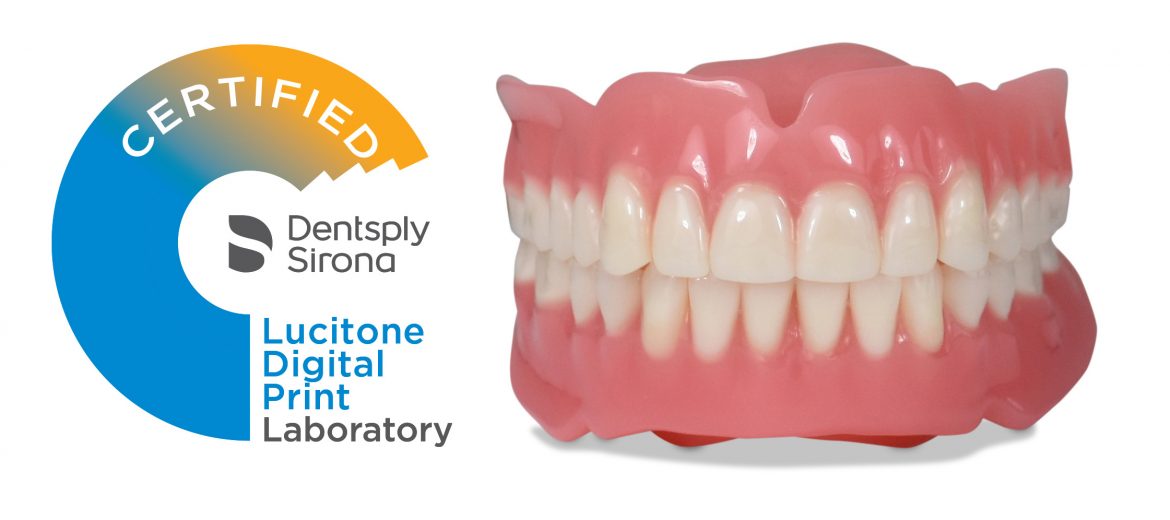
D&S Dental is a Certified Lucitone Digital Print Laboratory, which means we can 3D print complete dentures. Select Digital Denture on your next RX and follow these steps.
Dentist Appointments
1. Impression – Dentist uses current impression technique
2. Bite Registration – Dentist takes bite registration using baseplate and wax rim and then takes reline wash final impression inside the baseplate, using it as their custom tray
3. Try In – Dentist uses provided checklist to mark up try-in with Sharpie pen and send back any notes for adjustments
4. Delivery – Dentist delivers final denture to patient
Lab Steps
1. Model – D&S pours the model and makes baseplate and wax rim based on the provided impression
2. Scan, Design and Print – D&S scans final bite rim impression to create digital file. D&S sets up teeth, designs in the software and prints mono-block try-in to send to dentist
3. Final Denture – D&S makes any adjustments in design software, prints denture base and fuses teeth to base
3D printed dentures are the latest innovation in Removable products and can save patients 1-2 appointments. As a Certified Lucitone Print Laboratory, D&S Dental can fabricate your denture using Lucitone resin and IPN teeth specifically designed for digital use, not to mention printed on Carbon’s cutting-edge technology. Digital workflow results in high accuracy for a precise fit. If a denture is lost or damaged, it can be quickly reproduced from the digital file without the need for a new impression. Patients can also wear the try-in home to test look and fit.
Visit the Print Denture page under Removable Products for links to more information.