Implants are poised for significant growth in the coming decades. D&S Dental Laboratory’s implant team is ready to walk you through your implant case from start to finish. We have more than 200 implant components in stock and close partnerships with all the major implant manufacturers. Here is an overview of the implant process.
Note: Turnaround time for most crowns and abutments is 10-12 days in the lab.
Prior to First Appointment
Order impression coping from D&S. We will need to know:
– the implant brand
– implant diameter (mm)
– type of restoration planned
– if you will need rental tools
Most impression copings are stocked by D&S but allow 2 days to be safe.
A custom tray is recommended, but not required.
First Restorative Appointment– Impression of Post
Remove healing cap with appropriate tool.
Place impression coping using the same tool used to remove healing cap (finger tighten).
Take X-ray to verify complete seating (as perpendicular to interface as possible).
Block out access hole of impression coping using wax or playdough.
Take impression.
Replace healing cap.
Send impression and coping to lab for crown and abutment fabrication.
Second Restorative Appointment
Remove healing cap.
Place permanent abutment (finger tighten).
Confirm seating with X-Ray.
Torque to place using specifications for the particular implant (see instructions at www.dnsdental.com/torque).
Re-torque after five minutes.
Block out access hole with Teflon tape.
Fill access hole in abutment with composite.
Place and cement crown.
Return tools to D&S.
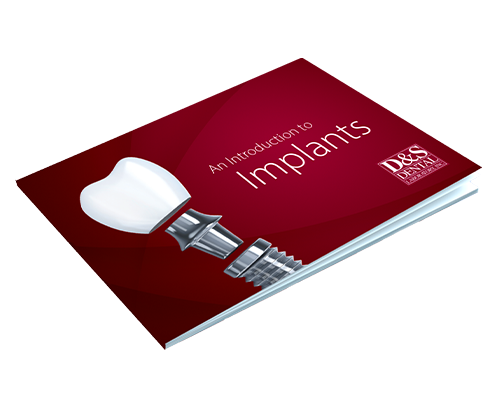
Email us at [email protected] if you’d like a printed copy of our Introduction to Implants booklet or download it from the implants product page.
Did you know screw-retained implants have grown in popularity and represented 64 percent of all implants in 2019, according to the 2019 Lab Management Today Annual Implants Survey. Any crown material can be used on a screw-retained restoration.


